How to Set Up AgentD: Install, Connect and Run Your First Team
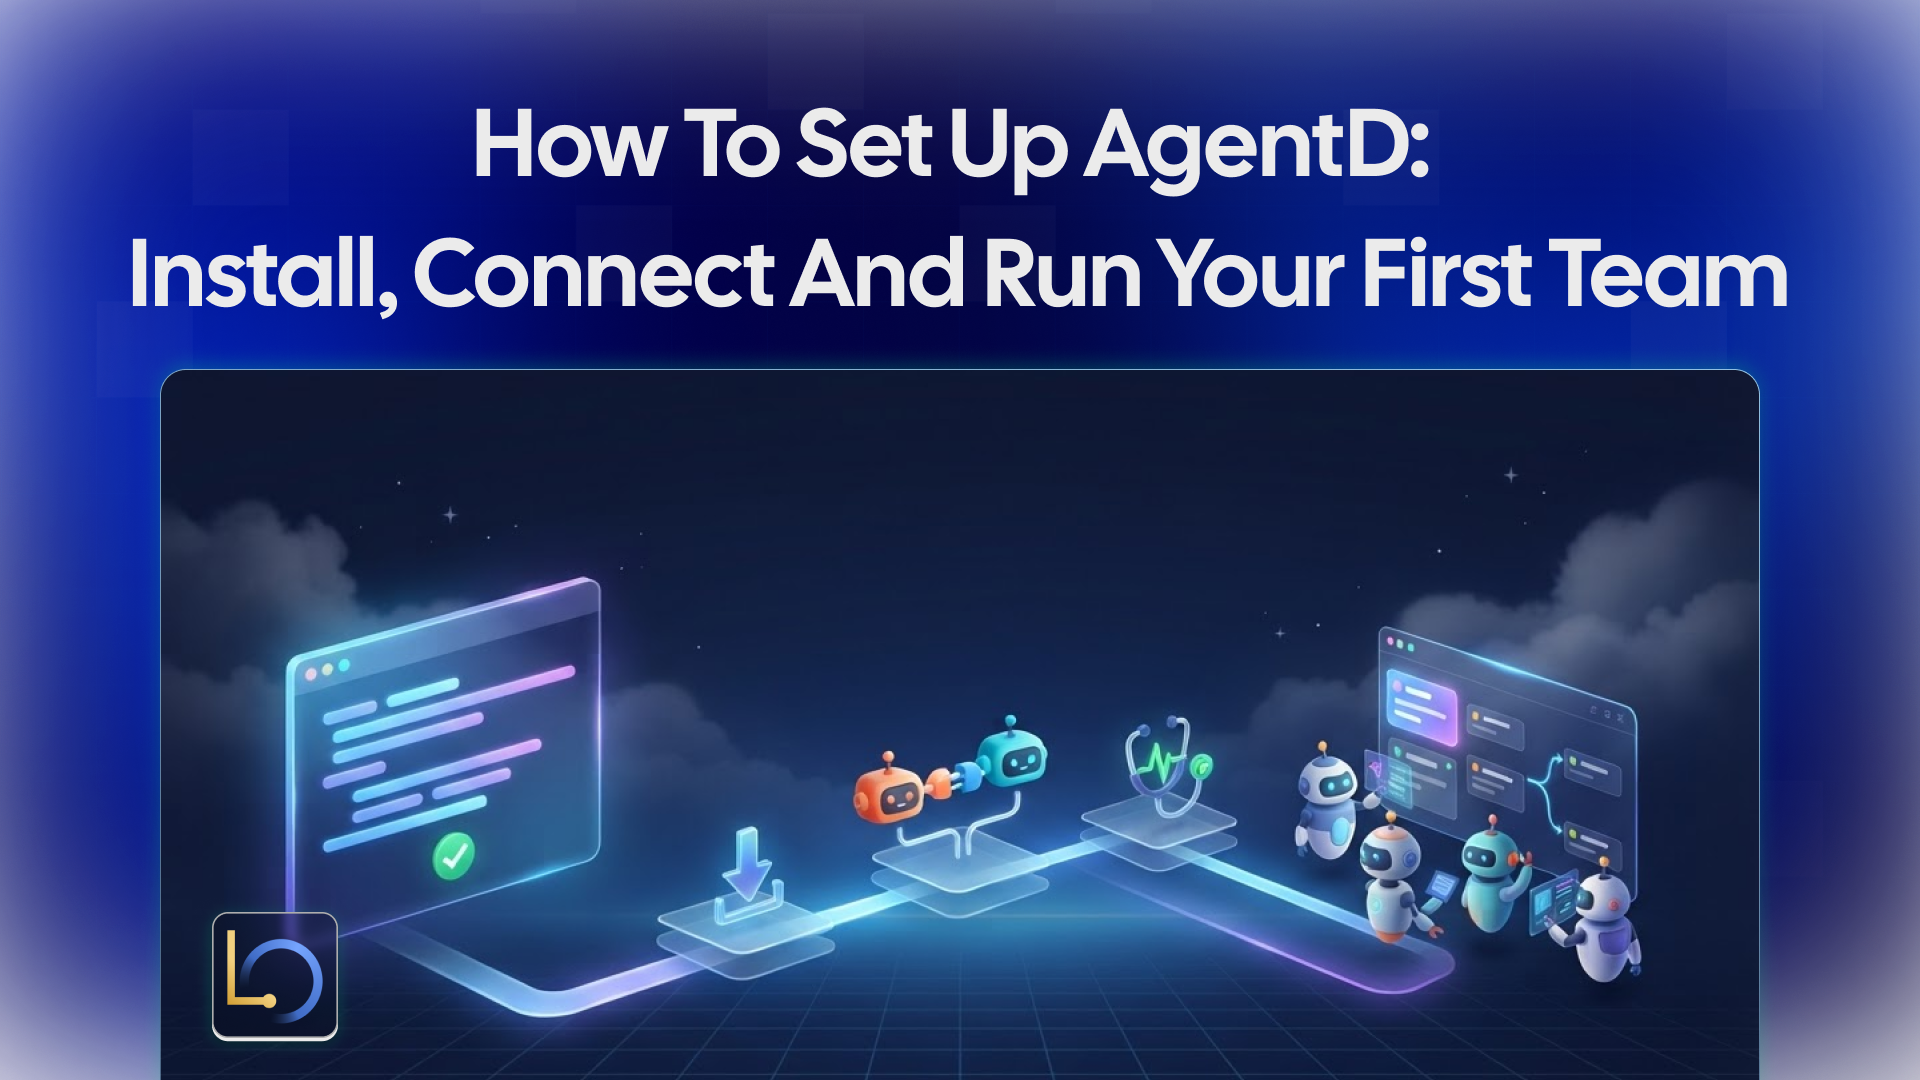
In our launch post, AgentD: Coordinate Claude Code and Codex on One Project with LibraOS, we explained why we built AgentD and what it is for. This guide is the practical follow-up. It walks you through installing AgentD, connecting it to Claude Code and Codex, running your first team of workers and getting their changes into a pull request.
By the end, you will have AgentD running on your machine and know where each part of the workflow lives.
Before you install
AgentD needs four things on your machine.
Linux with systemd user services. This is the tested setup. macOS binaries are built, but they have not been tested yet.
git 2.25 or newer, with your name and email set. These label the commits your workers make. They do not sign you in to GitHub.
git config --global user.name "Your Name"
git config --global user.email you@example.com
The GitHub CLI, signed in. AgentD uses gh to clone private repositories, push a worker's branch and open a draft pull request. GitHub does not accept your account password for git, so sign in through the CLI:
sudo apt install -y gh
gh auth login
gh auth setup-git
Workers run as your own OS user, so they use the same sign-in that gh stores.
Claude Code or Codex. One client is enough. Install it before AgentD, because the installer adds AgentD's skills only to the clients it finds. If you add the other client later, simply run the installer again.
Install, connect and check
Installing AgentD does not need a GitHub sign-in. Download the installer from the latest release and read it before you run it:
d="$(mktemp -d)"
curl -fsSL -o "$d/install.sh" https://github.com/libraos/agentd/releases/latest/download/install.sh
less "$d/install.sh"   # press q to quit
sh "$d/install.sh"
export PATH="$HOME/.local/bin:$PATH"
agentd version
The installer checks the release checksums, puts the binary in ~/.local/bin and adds AgentD's two skills, agentd and agentd-setup, to Claude Code and Codex. It does not change any client configuration. Add the export line to your ~/.bashrc so new shells can find agentd too.
Next, connect your coding agents:
agentd connectThis adds AgentD's MCP server and hooks to Claude Code and Codex, and keeps a backup of every file it changes. From now on, every session shares one task ledger: who is working on what, handoffs, checks and results.
Finally, run agentd doctor. It checks your setup and prints the fix for anything that fails. Keep running it until no required check fails.
One common case: on Ubuntu 23.10 and newer, including 24.04, AppArmor blocks the sandbox that Codex workers use. Doctor reports it in its Codex sandbox check and prints a command that adds an AppArmor profile for /usr/bin/bwrap only. Every other program keeps the restriction.
Run your first team
Open the dashboard from inside your repository:
agentd dash
The dashboard runs locally in your browser. Here is how a first run usually goes.
- Describe the work in Chat. Write what you want built or changed, the same way you would brief a teammate.
- Review the plan. The planner splits your request into tasks. Each task names its files, its check command and which worker takes it. Start the tasks you agree with and decline the rest.
- Watch the workers. The Team view shows every worker, what it is doing and its live output. Inbox and Issues collect anything that needs your attention.
- Check the results. When a worker finishes, its check has run and its change is ready to review.
Behind the scenes, a worker started from your default branch runs in its own git worktree, under .claude/worktrees. It has a budget and a check command, and it commits only on its own agentd/… branch. Your default branch stays clean while several workers build at once.
Later, Insights shows how your tasks turn into pull requests over time.
Review and publish
When a worker's change looks right, you open a draft pull request from the dashboard. Nothing reaches GitHub before that.
AgentD follows three rules here:
- It publishes only when you confirm. AgentD pushes a worker's branch and opens a draft pull request only after you say so.
- It never merges. Merging stays your decision, in your normal review process.
- Workers never push. Every Claude worker has a rule that refuses to push, and Codex workers carry the same rule in their prompt.
The practical result is that you can let several agents work in parallel and still review every change the same way you review a teammate's pull request.
Models, billing and your data
AgentD brings no model access of its own. Claude Code and Codex call their models exactly as each one is configured: with your own sign-in, your own provider key, or a LibraOS model API key. If you already have Claude Code or Codex working, AgentD uses that same setup.
Your work also stays on your machine. Sessions, tasks and the ledger live locally. The AgentD page in the LibraOS Console only shows the setup steps; your sessions and tasks are not synchronized to it.
Keep it running
On a server, turn on lingering. AgentD's services, timers and workers run as systemd user units. Without lingering, systemd stops all of them when your last login session ends, including when you close the last SSH session. Turn it on once:
sudo loginctl enable-linger "$USER"
loginctl show-user "$USER" -p Linger   # Linger=yes
Add a Runtime only when you need it. Task tracking, handoffs, checks and the dashboard all work without the LibraOS Runtime. You need one for knowledge search, cited answers from agentd ask and model-written daily reports. agentd runtime up starts one on your machine with Docker.
Upgrading is the same as installing. Run the installer again; the ledger upgrades itself the first time the new binary opens it. Then restart the notifier with systemctl --user restart agentd-notify.service, restart the dashboard service if you installed it, open new Claude Code or Codex sessions and run agentd doctor again.
If you ever want to remove AgentD, the documentation lists every service, file and branch to clean up.
Next steps
You now have AgentD installed, connected to your coding agents and ready to run a team. A good first task is something small with a clear check, such as a single screen with a test, so you can see the full loop from plan to draft pull request.
Download the latest release on GitHub, and find the full setup reference on the AgentD page.
Explore AgentD
What’s Next?
Sign up and explore now.
🔍 Learn more: Visit our blog and documents for more insights or contact us for a demo of how MegaNova can power your AI products.
📬 Get in touch: Join our Discord community for help or Contact Us.
Stay Connected
💻 Website: meganova.ai
📖 Docs: docs.meganova.ai
🎮 Discord: Join our Discord
👽 Reddit: r/MegaNovaAI
𝕏 X: @meganovaai