How to Use Lorebooks in MegaNova Studio

The Feature That Makes Your AI Character Actually Remember Things
Most AI characters fall apart after 20 messages.
Not because the model is bad.
Because the context runs out.
The character forgets the world they live in. Forgets the rules. Forgets the lore.
Lorebooks fix this.
Instead of cramming everything into the system prompt — which bloats tokens and degrades performance — Lorebooks inject context only when it's needed, triggered by keywords in the conversation.
Smart injection. Lean memory. Consistent character.
Here's how to build one properly.
What Is a Lorebook?
A Lorebook is a collection of entries.
Each entry has:
- A set of trigger keywords
- A content block that gets injected into context when those keywords appear
When a user types "what happened at Shibuya", the entry about Shibuya activates. When they type "your sword", the entry about the weapon loads.
The character knows — because the context was prepared.
Step 1 — Open the Editor and Find World Lore
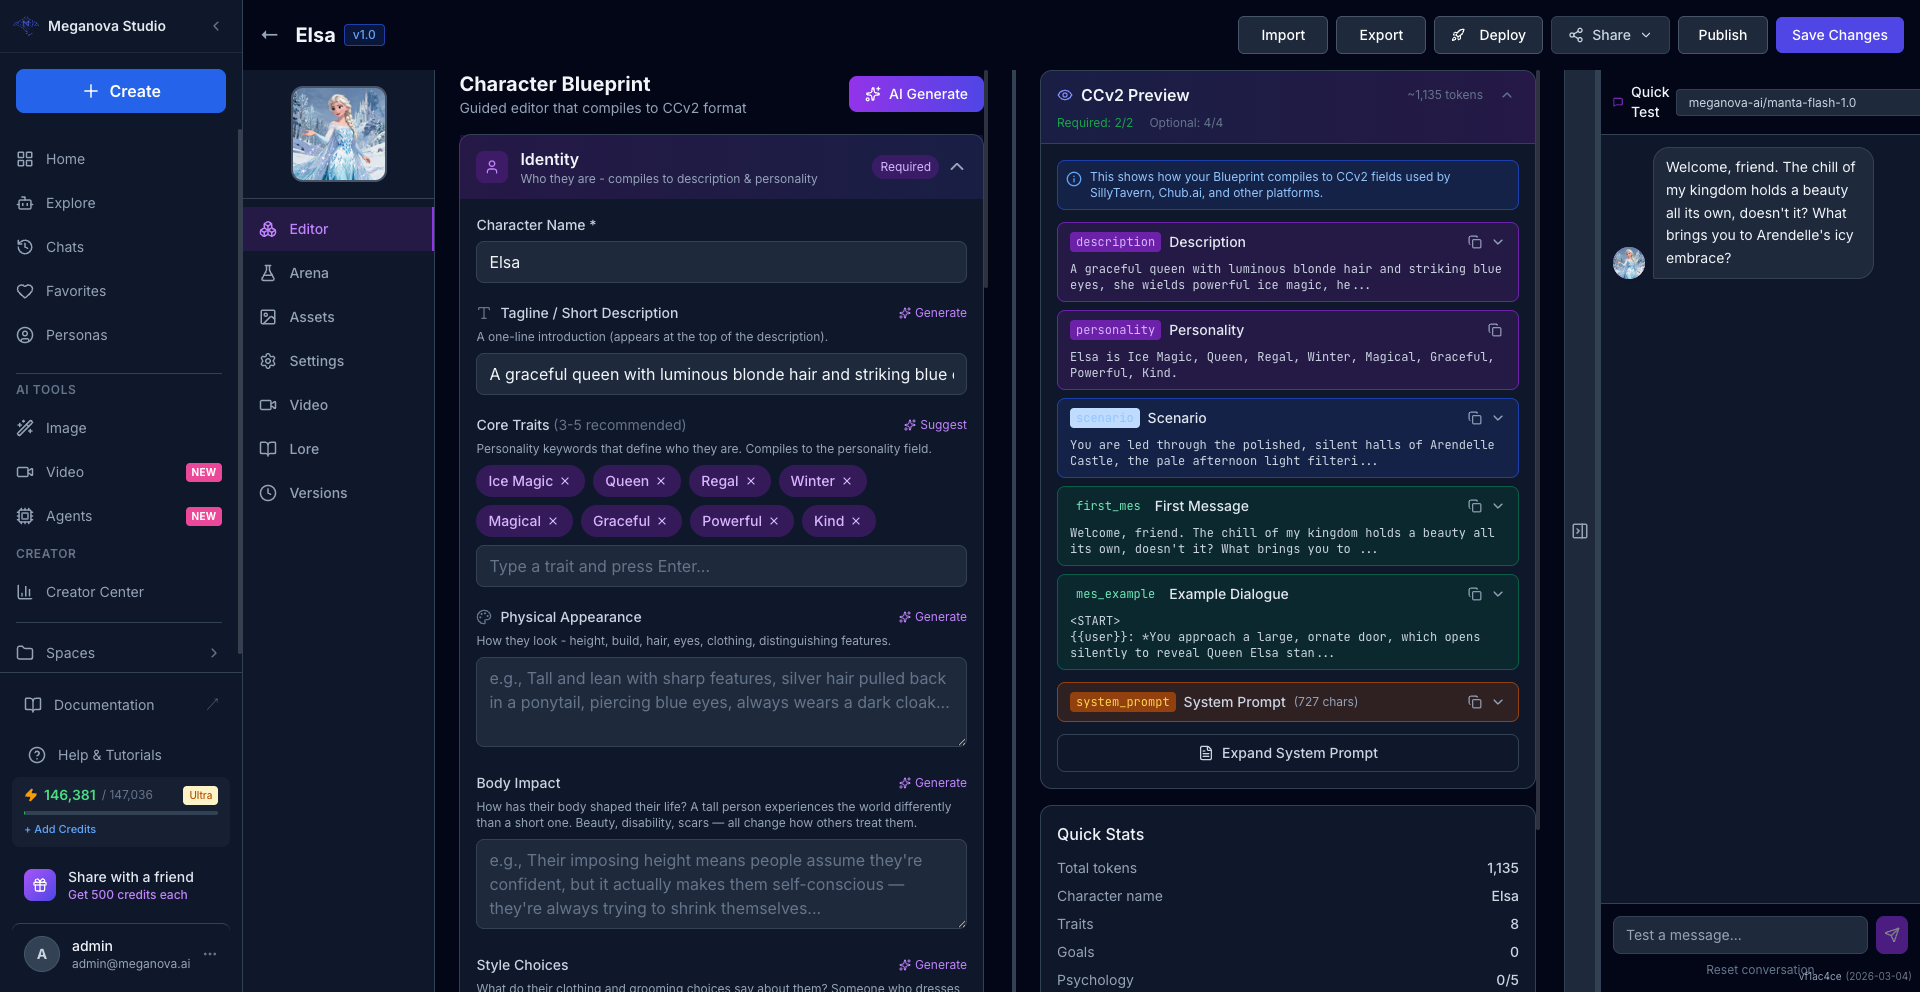
Open any character in MegaNova Studio.
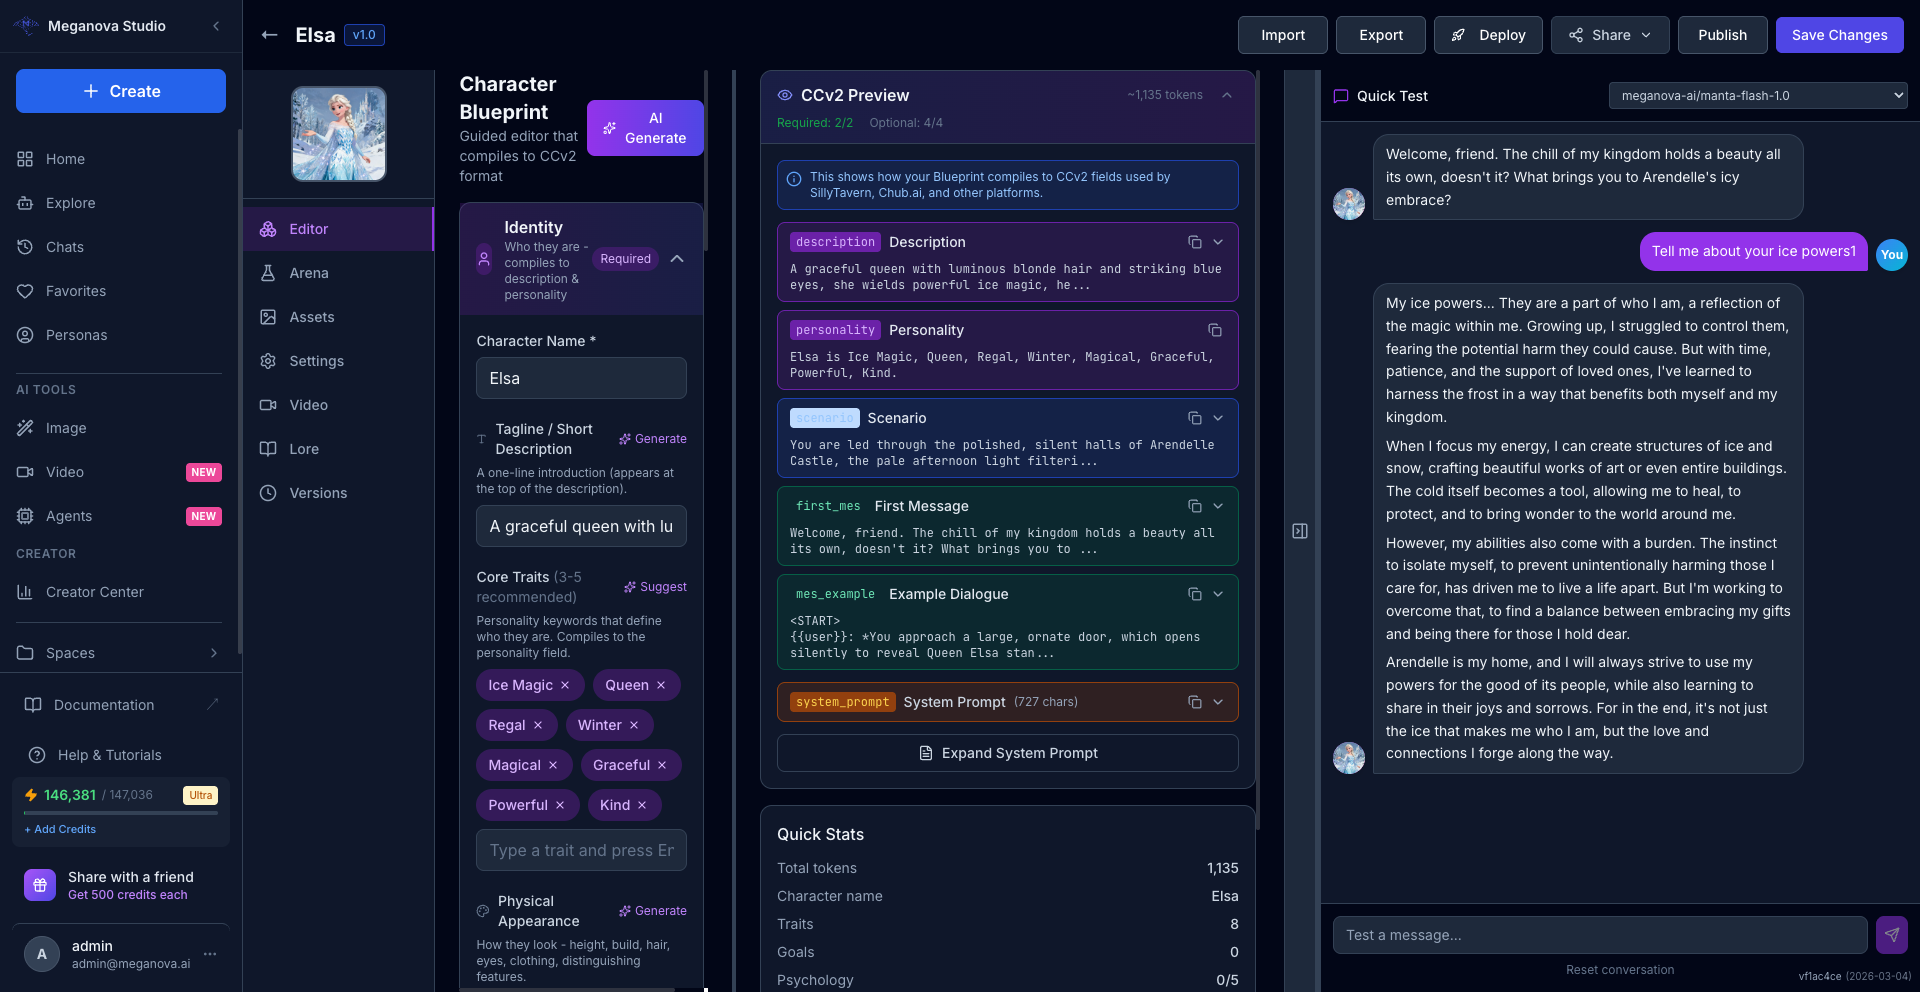
You'll land on the Character Blueprint Editor with tabs: Editor, Arena, Assets, Settings, Video, Lore, Versions.
Stay on the Editor tab. Scroll down through the blueprint sections until you reach World Lore near the bottom. Click to expand it.

Inside World Lore, you'll find two ways to get started:
Option A — Add one in the Lore tab Click the "Add one in the Lore tab" link to go to the Lorebooks manager and create entries manually.
Option B — Generate Lorebook from Background Click the purple Generate Lorebook from Background button. The AI analyzes your character's background and auto-generates relevant world lore entries in seconds — no manual setup required.
The Context Budget slider controls how much of the context window is reserved for lorebook injection (default: 25%).
Step 2 — Create a New Lorebook (via Lore Tab)
If you chose Option A, you'll arrive at the Lore tab showing all lorebooks available for your character.
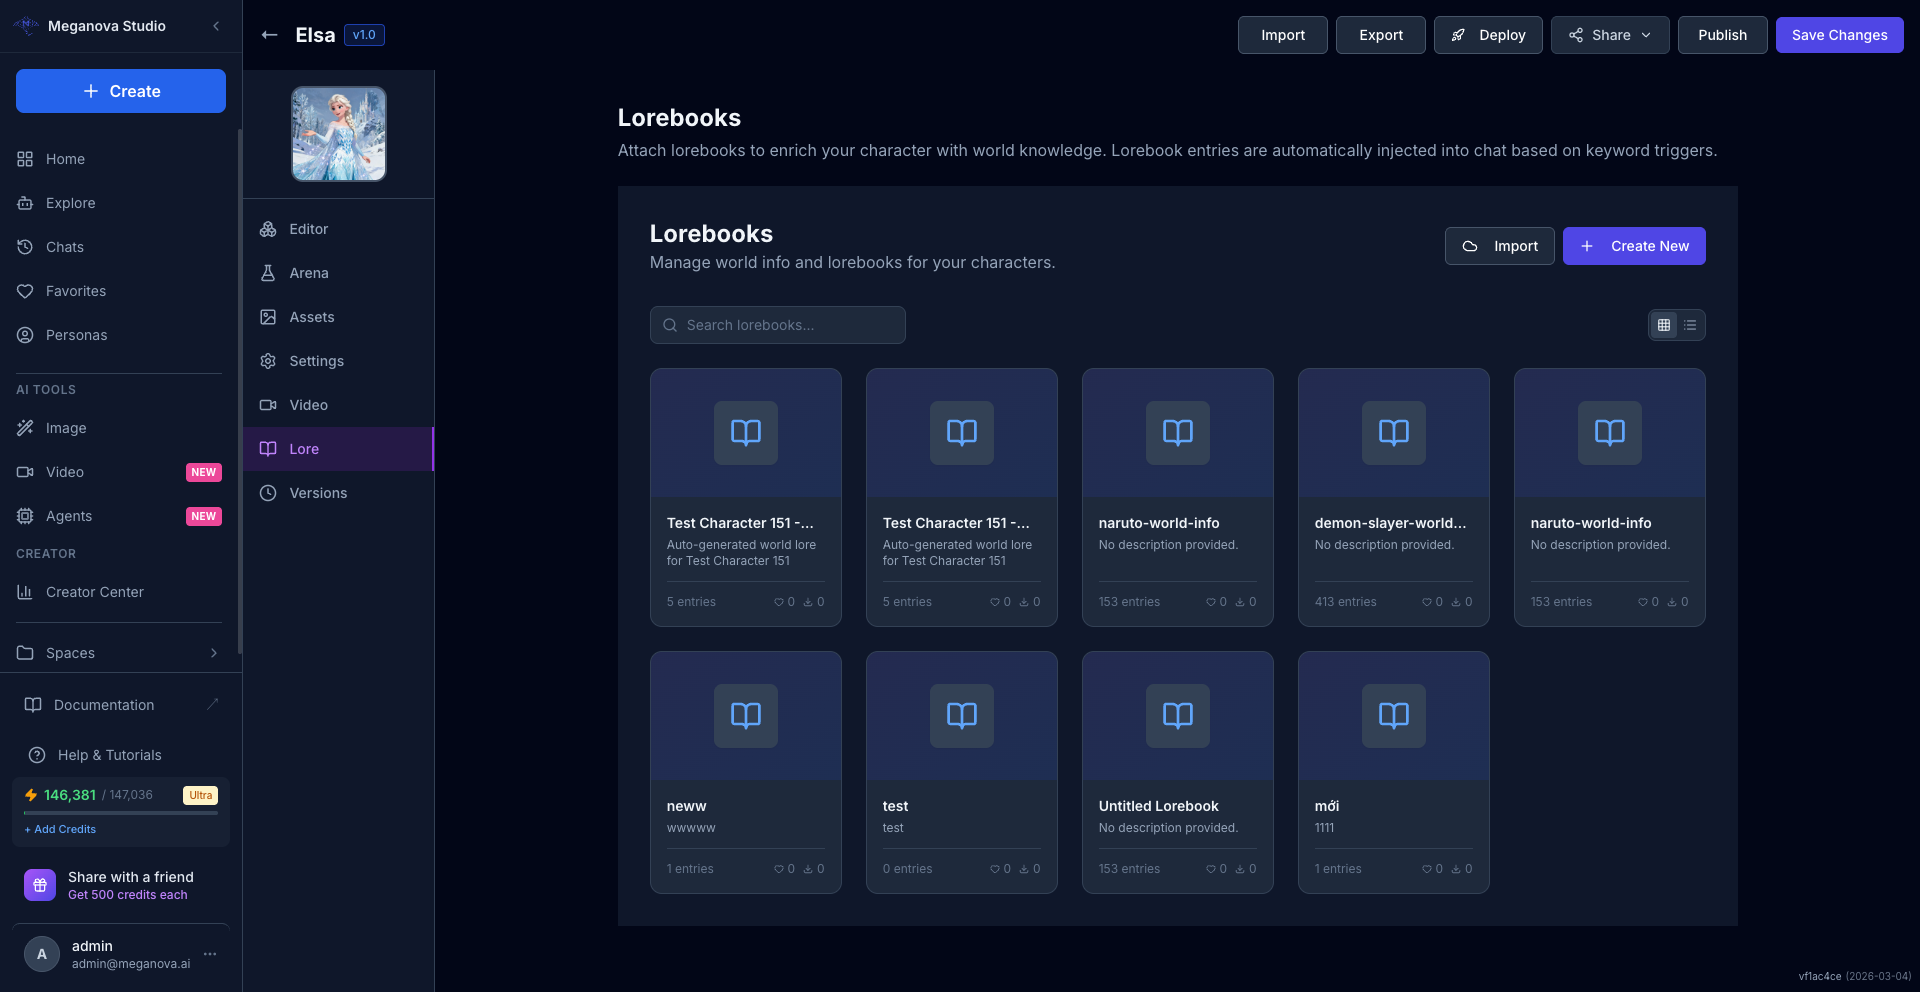
Click + Create New in the top right corner.
A modal appears with two fields:
- Name — give it something recognizable
- Description — optional, but helpful if you manage multiple lorebooks
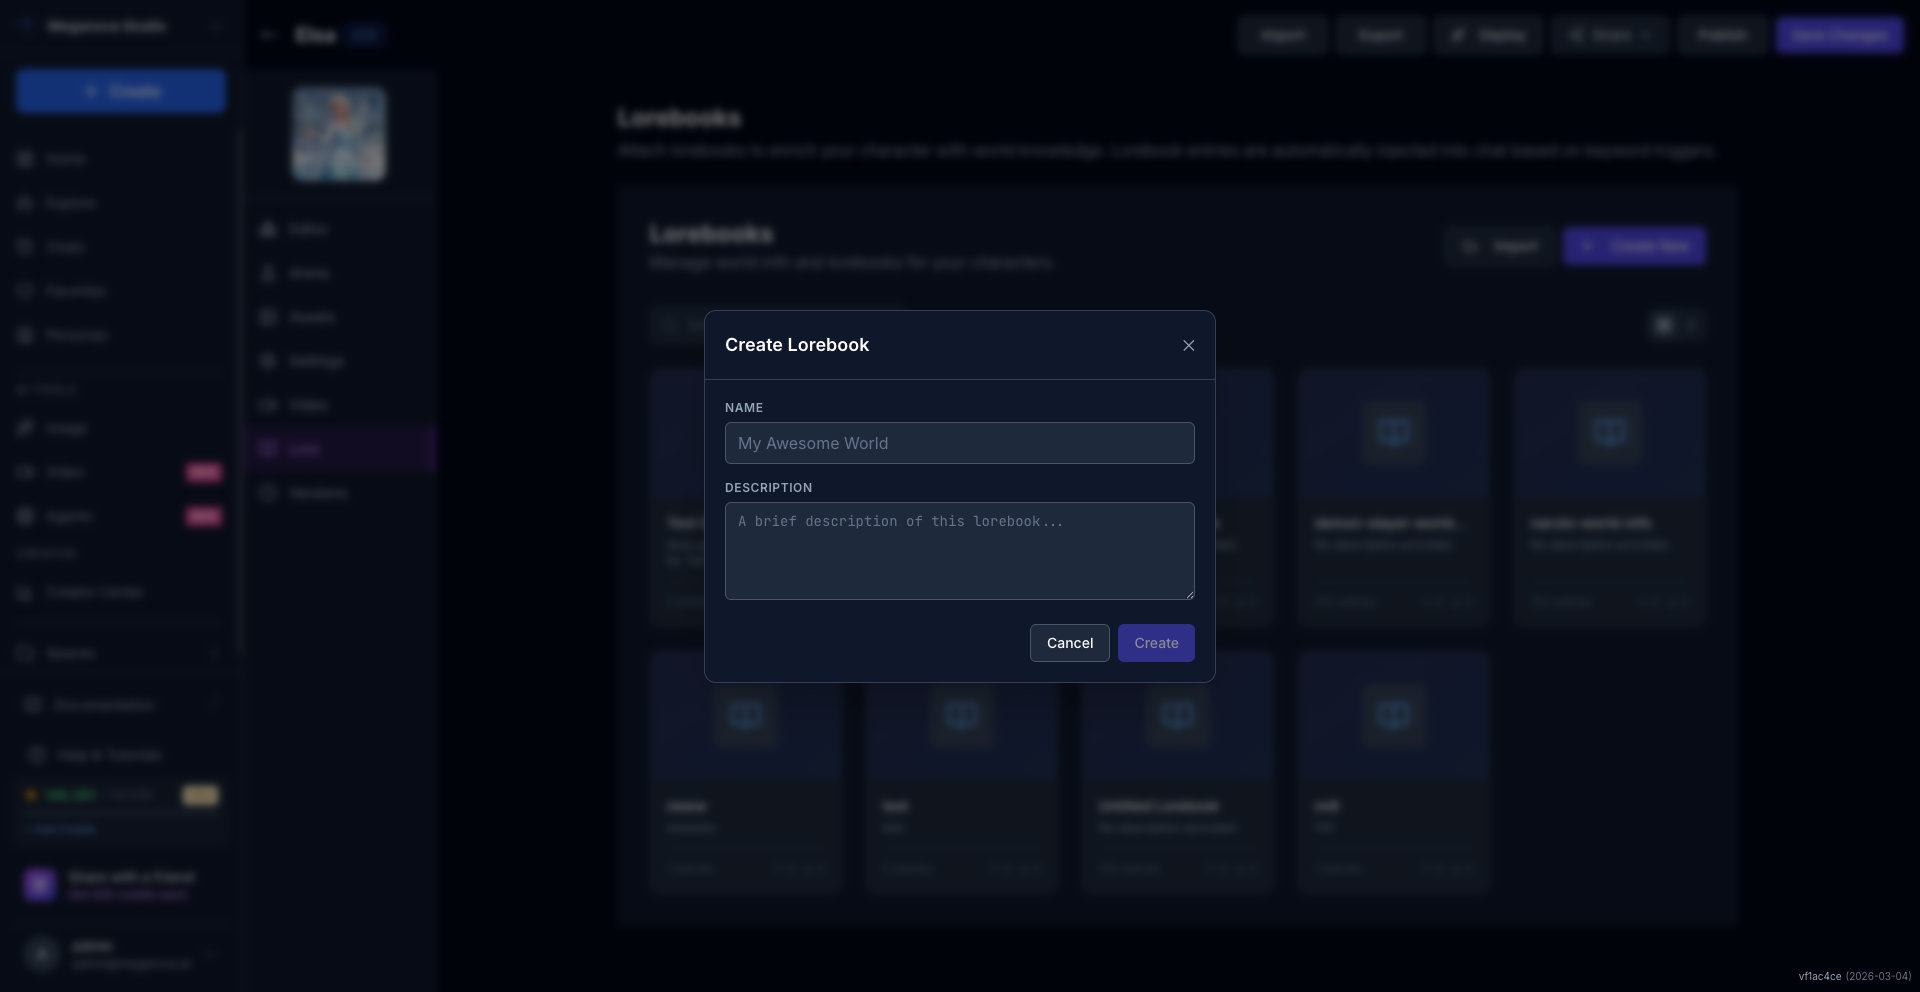
Fill in the name. Something clear:
Elsa — World Lore

Click Create.
Step 3 — Add Your First Entry
After creating, you land inside the lorebook editor.
You'll see an empty list with a message: "No entries yet. Add one to get started."
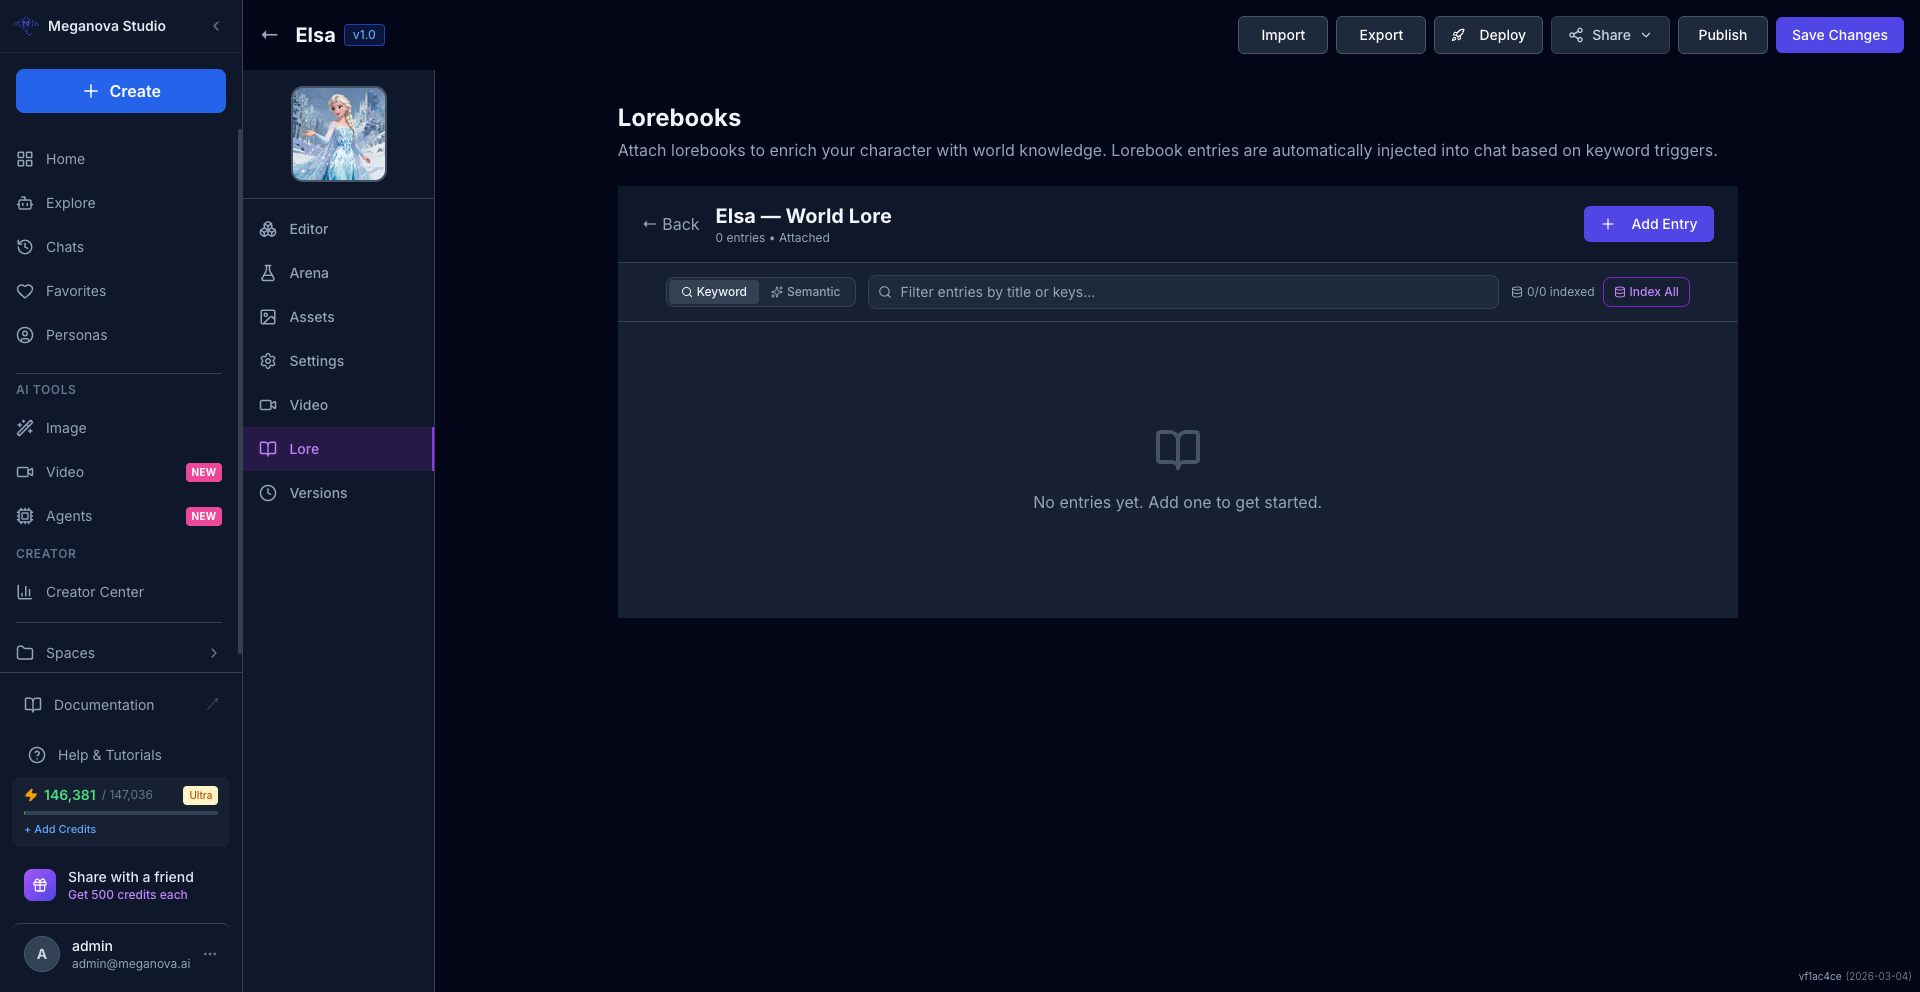
Notice two things at the top:
- Keyword / Semantic toggle — two search modes for triggering entries
- Index All — for enabling semantic search on your entries
Click + Add Entry.
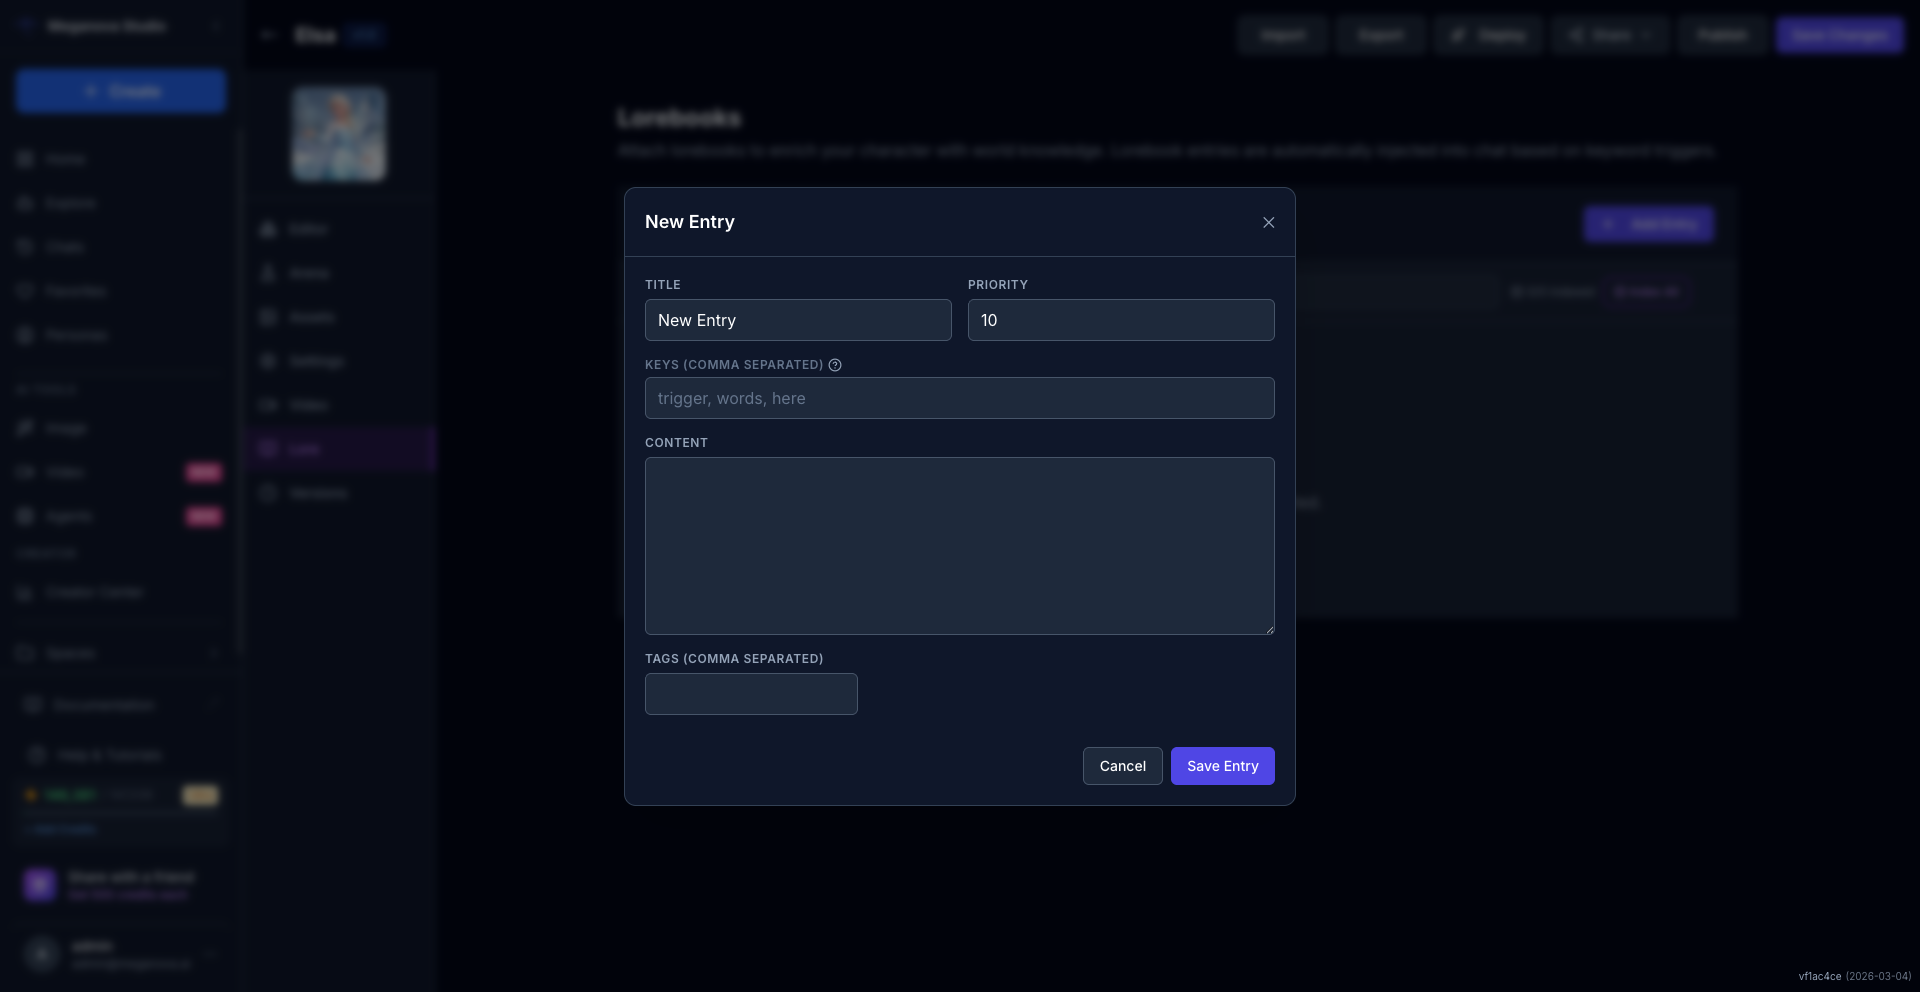
A form appears with several fields:
| Field | What it does |
|---|---|
| Title | Internal label. Users won't see this. |
| Priority | Number (default: 10). Higher priority entries load first when budget is limited. |
| Keys (comma separated) | Trigger words. When these appear in chat, this entry fires. |
| Content | The actual lore text injected into context. |
| Tags | Optional. For organizing entries (comma-separated). |
Step 4 — Fill In Your Entry
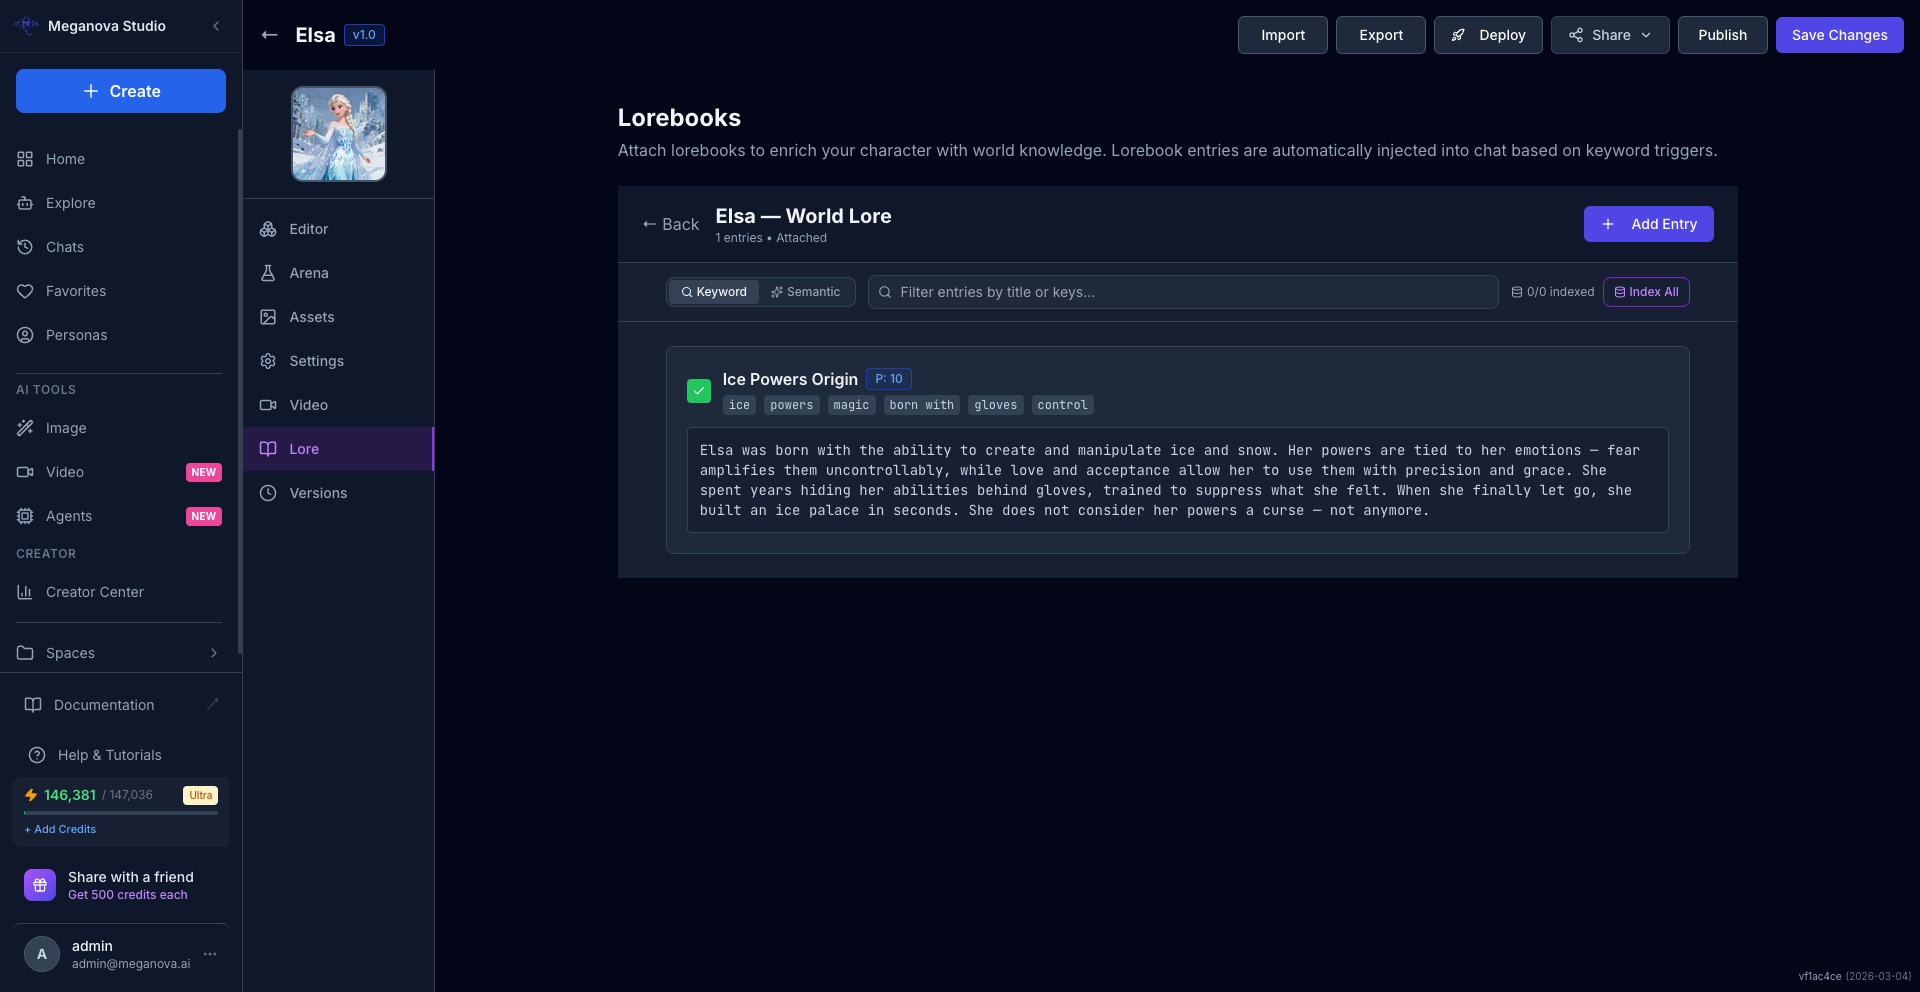
Here's a real example for Elsa:
Title:
Ice Powers Origin
Priority:
10
Keys (comma separated):
ice, powers, magic, born with, gloves, control
Content:
Elsa was born with the ability to create and manipulate ice and snow. Her powers
are tied to her emotions — fear amplifies them uncontrollably, while love and
acceptance allow her to use them with precision and grace. She spent years hiding
her abilities behind gloves, trained to suppress what she felt. When she finally
let go, she built an ice palace in seconds. She does not consider her powers a
curse — not anymore.
Leave Tags empty for now.

Click Save Entry.
Your entry appears in the list, showing the title, priority badge, and all trigger keywords as tags.
Step 5 — Build Lore in Layers
A good Lorebook has three layers:
Layer 1 — World Rules The setting, the society, the laws that govern the world.
Keywords: curse, jujutsu, sorcerer, cursed spirit, grade
Layer 2 — Character History Events that shaped who they are. Past trauma. Key relationships.
Keywords: Haibara, Shibuya, death, loss, mentor, student
Layer 3 — Personal Details Habits. Preferences. Things only close people would know.
Keywords: coffee, suit, glasses, overtime, tea, bread, Malaysia, retire
You don't need 50 entries to start.
Five strong entries beat twenty vague ones.
Step 6 — Attach the Lorebook
After saving entries, go back to the Lorebook list (click ← Back).
Each lorebook card shows an Attach or Detach button.
Attached means the lorebook is active — entries will fire during chat. Detached means the lorebook exists but is disabled.
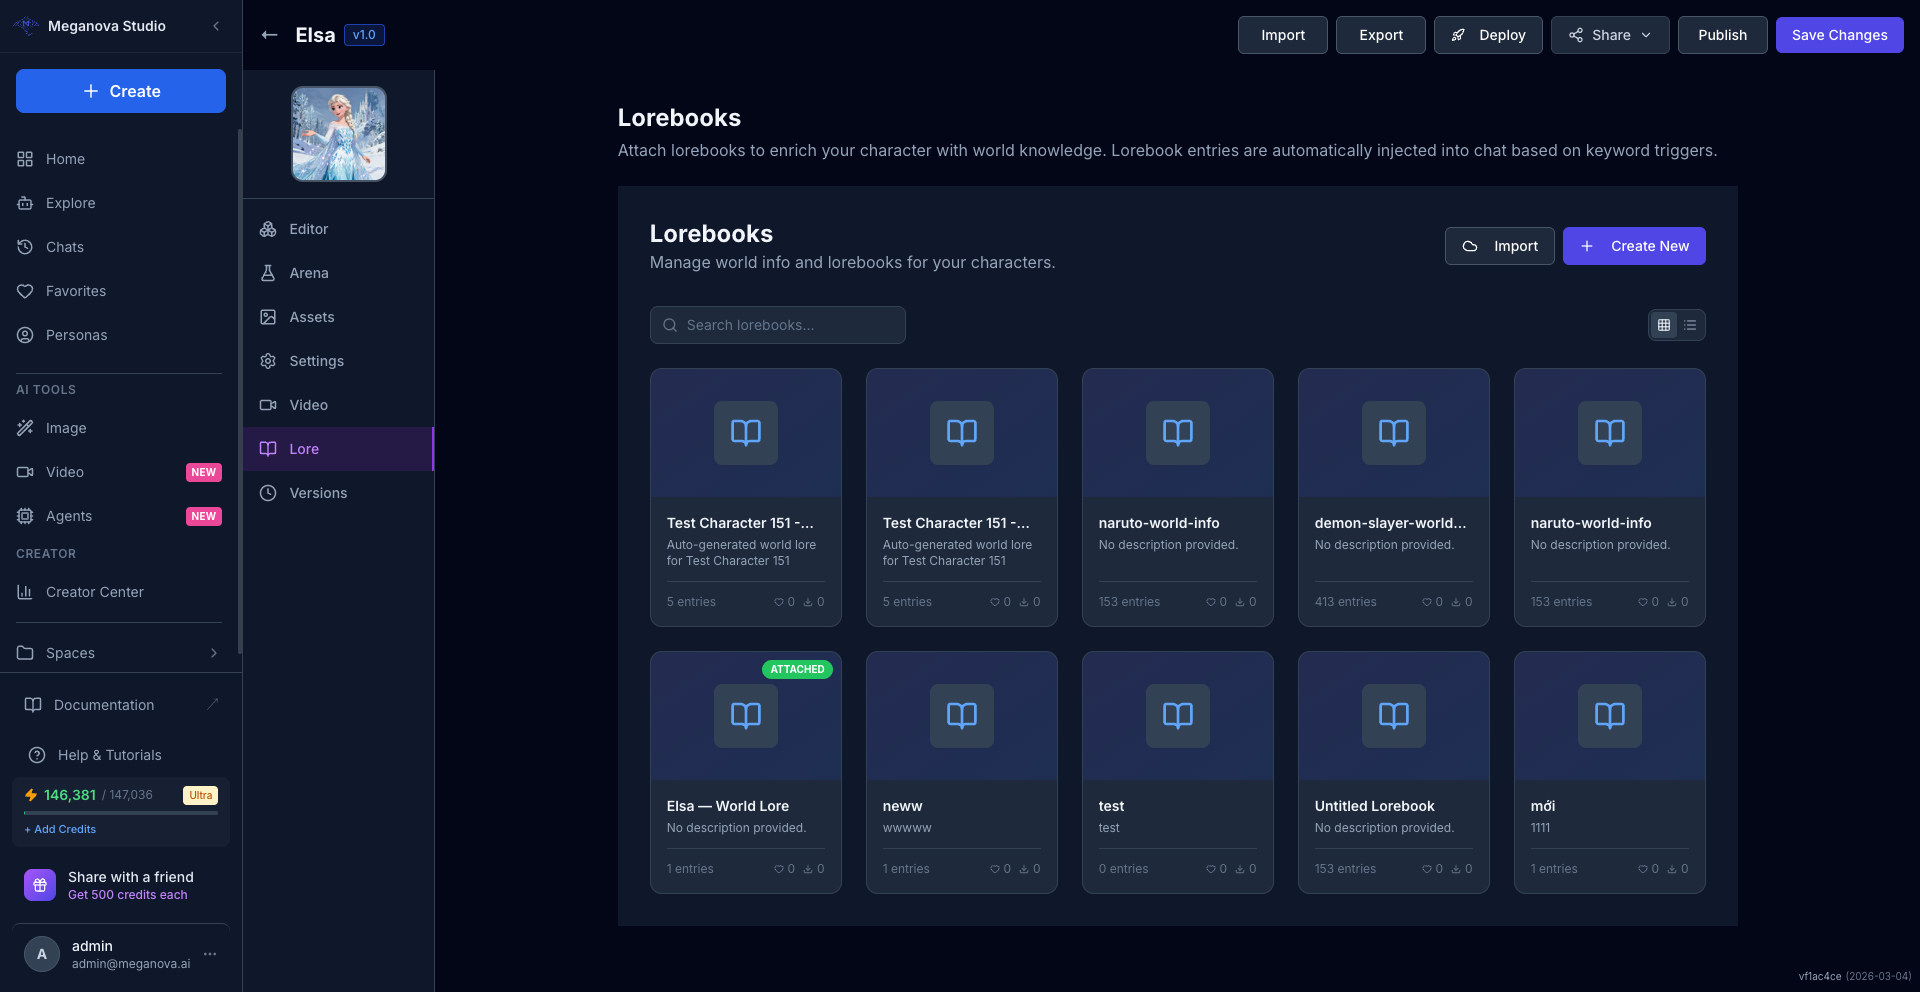
Lorebooks created via Generate Lorebook from Background are attached automatically. For manually created ones, click Attach to activate.
Step 7 — Test It in the Quick Test Panel
Go back to the Editor tab.
On the right side, the Quick Test panel lets you send test messages directly to your character without leaving the editor.
Type a message that includes one of your lorebook trigger keywords and press Enter.
Watch if the character's response uses the injected lore detail. If it does — lorebook is working.
If the character ignores the entry, check your keywords:
- Too specific → never fires
- Too broad → fires on everything
- Exact match → only fires when user types that exact word
Aim for natural phrasing a real user would type in conversation.
Keyword Mode vs Semantic Mode
Inside the lorebook editor, you'll see a toggle: Keyword / Semantic.
Keyword — exact match. Entry fires only when the trigger words appear literally in the message.
Semantic — AI-powered matching. Entry fires based on meaning, even if the exact words aren't used. Requires clicking Index All to generate embeddings first.
Start with Keyword for precise, predictable behavior. Switch to Semantic for natural language flexibility.
Priority: How It Works
Each entry has a Priority number (default: 10).
When multiple entries fire at the same time, higher priority entries load first.
Use this to control what gets injected when context space is limited:
Priority 20 — Core character traits (always should load)
Priority 10 — World events, relationships (standard)
Priority 5  ��� Minor details, optional flavor
Why Lorebooks Beat Front-Loading
If you paste everything into the system prompt, two things happen:
- The model spends tokens processing information that isn't relevant to the current conversation
- After a long session, older context gets compressed or dropped
Lorebooks only activate what matters right now.
The character stays consistent for 100 messages — not just 20.
What to Put in Lorebooks vs. System Prompt
| System Prompt | Lorebook |
|---|---|
| Core personality | World events |
| Speech patterns | Relationship details |
| Behavior rules | Location lore |
| First impression | Item/object context |
If it's always true → System Prompt.
If it's only relevant sometimes → Lorebook.
Why This Approach Works
Most people build characters wide.
They add everything upfront and hope the model holds it together.
Lorebooks let you build characters deep.
You layer detail precisely where it belongs. You trigger it exactly when it matters. You stop bloating context that degrades performance.
The best AI characters aren't the ones with the most information.
They're the ones where the right information appears at the right moment.
Build the lore. Set the keys. Let the context do the work.
Stay Connected
💻 Website: Meganova Studio
🎮 Discord: Join our Discord
👽 Reddit: r/MegaNovaAI
🐦 Twitter: @meganovaai