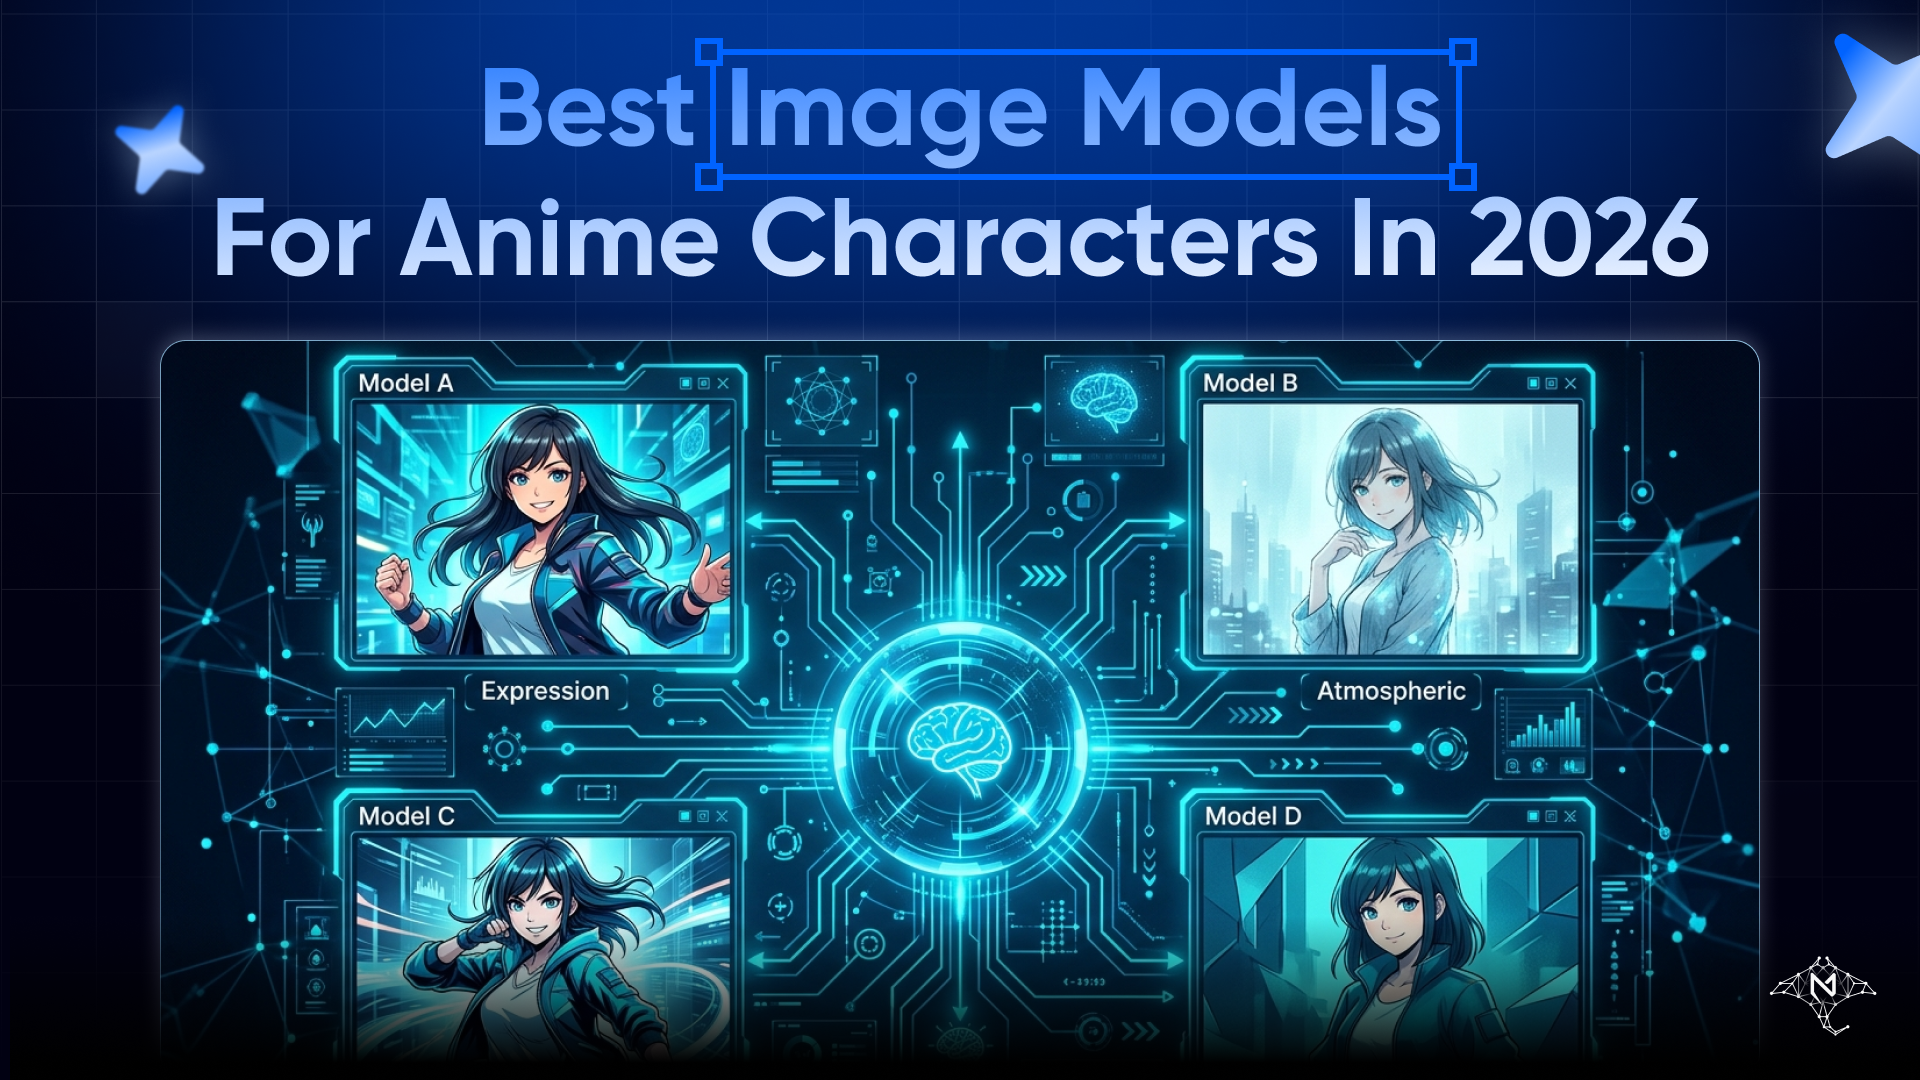
Best Image Models on MegaNova for Anime Characters in 2026

If you are building an anime character in MegaNova Studio, the model you choose for image generation changes everything.
Not just image quality. Output resolution, img2img editing support, how well the model interprets style tags, how much detail survives in a 9:16 portrait crop — all of this varies by model. Picking the wrong one means re-generating the same character ten times wondering why the results look off.
This guide covers every image model available on MegaNova in 2026, which ones are best suited for anime, and what to configure to get the sharpest results.
How Image Generation Works in MegaNova Studio
Before comparing models, it helps to know where image generation lives in the platform.
Character Image Generation is the dedicated image tool inside the Character Studio. It generates character portraits in a fixed 9:16 aspect ratio — optimized for profile images and character cards. You select an art style, choose gender, pick pose and outfit tags, describe appearance, and the system assembles a complete prompt automatically.
The Image Gen node in the Workflow Editor is the workflow-native equivalent. It takes a text prompt (built from upstream nodes) and outputs an image as part of a larger pipeline. It supports a different set of models.
Both tools draw from the same underlying MegaNova image generation API. The difference is context: Character Image Generation is purpose-built for portraits, while the Image Gen node is designed for flexible pipeline use.
The Anime Style Preset
Character Image Generation ships with five style presets: Anime, Realistic, 3D, Chibi, and Cartoon.
Selecting Anime appends the following to your prompt automatically:
anime style, high quality illustration
This is the base style tag the model receives. Everything you add — appearance description, pose tags, outfit tags — builds on top of this.
Selecting Chibi uses:
chibi style, cute, big eyes
Chibi is a distinct aesthetic from standard anime illustration. If you are building a small, expressive character for a casual context, Chibi handles that better than the generic anime preset. For detailed, full-form character art, stick with Anime.
The default style when you open Character Image Generation is Anime — it is the first option in the selector and the initial state.
The Models
Seedream 4.5 — Best for Anime Portraits
Provider: Bytedance
Img2img editing: Yes
Portrait resolution: 1440 × 2560 (2.5K)
Seedream 4.5 is the highest-resolution option in MegaNova's character image pipeline. Where every other model generates portraits at 768 × 1344, Seedream 4.5 outputs at 1440 × 2560 — nearly four times the pixel count.
For anime characters specifically, that resolution difference matters. Hair detail, eye highlights, fabric texture in outfit tags, fine linework — all of these survive at 1440 × 2560 in a way that 768 × 1344 cannot support at the same clarity.
Seedream 4.5 also supports img2img editing, which means you can generate a base image and then iteratively refine it — adjusting pose, outfit, or expression — without rebuilding from scratch.
If you are generating a character avatar intended for use in profiles, cards, or published content, Seedream 4.5 is the correct choice.
Use when: you need maximum portrait resolution or plan to edit iteratively with img2img.
Seedream 4.0 — Balanced Quality with Editing Support
Provider: Bytedance
Img2img editing: Yes
Portrait resolution: 768 × 1344
Seedream 4.0 is the middle tier. It does not match 4.5's resolution, but it still supports img2img and performs well with the anime style preset.
Where 4.5 is the choice for final output quality, 4.0 is useful for iterative workflows: generate a rough pose at 4.0 speed and quality, lock in the direction, then switch to 4.5 for a polished final pass.
Use when: you want img2img flexibility without the higher credit cost of 4.5.
Seedream 3.0 — Fast Generation, No Editing
Provider: Bytedance
Img2img editing: No
Portrait resolution: 768 × 1344
Seedream 3.0 is the entry-level Seedream option. It does not support img2img, so once you generate an image you cannot edit it directly — you can only re-prompt.
For rapid concept generation — quickly seeing how a character looks in different outfits or poses before committing — 3.0 is fast and economical. But for anything you intend to use or publish, 4.0 or 4.5 gives you more room to iterate.
Use when: you are exploring character concepts quickly and do not need to edit results.
DreamShaper 8 — Stylized Art with Editing Support
Provider: Lykon
Img2img editing: Yes
Portrait resolution: 768 × 1344
DreamShaper 8 takes a different approach. Where the Seedream series originates from Bytedance and reflects that training data distribution, DreamShaper 8 (by Lykon) is a fine-tuned Stable Diffusion model with a strong orientation toward stylized, painterly illustration.
For anime and fantasy character art — detailed armor, flowing robes, dramatic lighting, expressive faces — DreamShaper 8 tends to produce results with strong artistic character. It is also less prone to the generic "AI image" look that can appear in broader models.
It supports img2img, making it a viable alternative to Seedream 4.0 for iterative workflows when you want a different aesthetic direction.
Use when: you want stylized illustration with an artistic sensibility rather than a clean anime illustration look.
Models in the Workflow Image Gen Node
The Image Gen node in the Workflow Editor has a different model list from the Character Image Generation tool:
- FLUX.1 — fast, high-fidelity text-to-image
- Seedream — Bytedance's generation model
- DALL-E 3 — OpenAI's generation model with strong prompt adherence
- Stable Diffusion — flexible, widely used
For anime characters in workflows — for example, generating character illustrations as part of a content pipeline — FLUX.1 is worth evaluating for its speed and prompt fidelity. DALL-E 3 excels at following complex character descriptions closely, which matters when your prompt is assembled from multiple upstream nodes with detailed character context.
The Workflow Image Gen node does not have the portrait-optimized 9:16 framing that Character Image Generation enforces automatically. You will need to specify portrait framing in your prompt or upstream style node.
Getting the Most from Anime Generation
Use the Pose and Outfit Tag System
Character Image Generation includes pre-built pose and outfit tags that are gender-specific.
For female characters: tags like Half-Body Close-up, Charming Head Tilt, and Mirror Selfie control framing. Outfits include Sailor Suit, Gothic Lolita, JK Uniform, Japanese Kimono, and more.
For male characters: Combat Ready Stance, Leaning Against Wall, Smirking, and Side Profile are available. Outfits include Samurai Outfit, Knight Armor, Japanese Yukata, and Assassin Cloak.
These tags are baked into the final prompt in the format:
pose and outfit: [pose tag], [outfit tag]
Using the tag system produces more consistent results than writing pose instructions in freeform appearance text, because the tags are pre-tested against the prompt structure the models receive.
Appearance Field for Anime-Specific Details
The Appearance text field is where you describe what is unique about this character. This is where anime-specific descriptors matter most.
Effective appearance descriptions for anime characters:
- Hair color and style:
long silver twin-tails,short dark blue bob,white spiky hair - Eye characteristics:
heterochromia, one red eye one gold eye,large violet eyes,sharp amber eyes with slit pupils - Distinctive features:
small cat ears,crescent moon mark on cheek,scar across left eye - Skin and aura:
pale skin with faint luminous glow,warm tan complexion
Avoid vague descriptors like beautiful or cool — they add noise without directing the model. Concrete visual details produce sharper results.
Default Batch Size
The default generation batch is 4 images per run. Each generation produces four variations from the same prompt, letting you select the best result or use crop and img2img editing to refine from a strong base.
You can adjust batch size up or down before generating.
Iterating with Img2img
If you get a result that is close but not quite right — the face is good but the outfit is wrong, or the pose works but the hair color drifted — use img2img editing to refine from that image rather than regenerating from scratch.
Seedream 4.0, Seedream 4.5, and DreamShaper 8 all support img2img. Seedream 3.0 does not.
Quick Reference
| Model | Resolution | Img2img | Best For |
|---|---|---|---|
| Seedream 4.5 | 1440 × 2560 | Yes | Final portraits, high-detail character art |
| Seedream 4.0 | 768 × 1344 | Yes | Iterative editing, balanced quality |
| Seedream 3.0 | 768 × 1344 | No | Fast concept exploration |
| DreamShaper 8 | 768 × 1344 | Yes | Stylized / painterly anime illustration |
| FLUX.1 (workflow) | flexible | — | Fast text-to-image in workflows |
| DALL-E 3 (workflow) | flexible | — | Accurate prompt-following in pipelines |
Start Generating
Open any character in MegaNova Studio, navigate to the Assets tab, and select Generate Image. Choose Anime as your style, select Seedream 4.5 for the highest quality output, configure your pose and outfit tags, and describe the character's appearance.
Four images will generate. Pick the strongest result, refine with img2img if needed, and save it as your character's avatar.
The model does the heavy lifting. Your job is giving it something specific enough to work with.
Stay Connected
💻 Website: Meganova Studio
🎮 Discord: Join our Discord
👽 Reddit: r/MegaNovaAI
🐦 Twitter: @meganovaai